The Big Bell Race - Guide and Tips
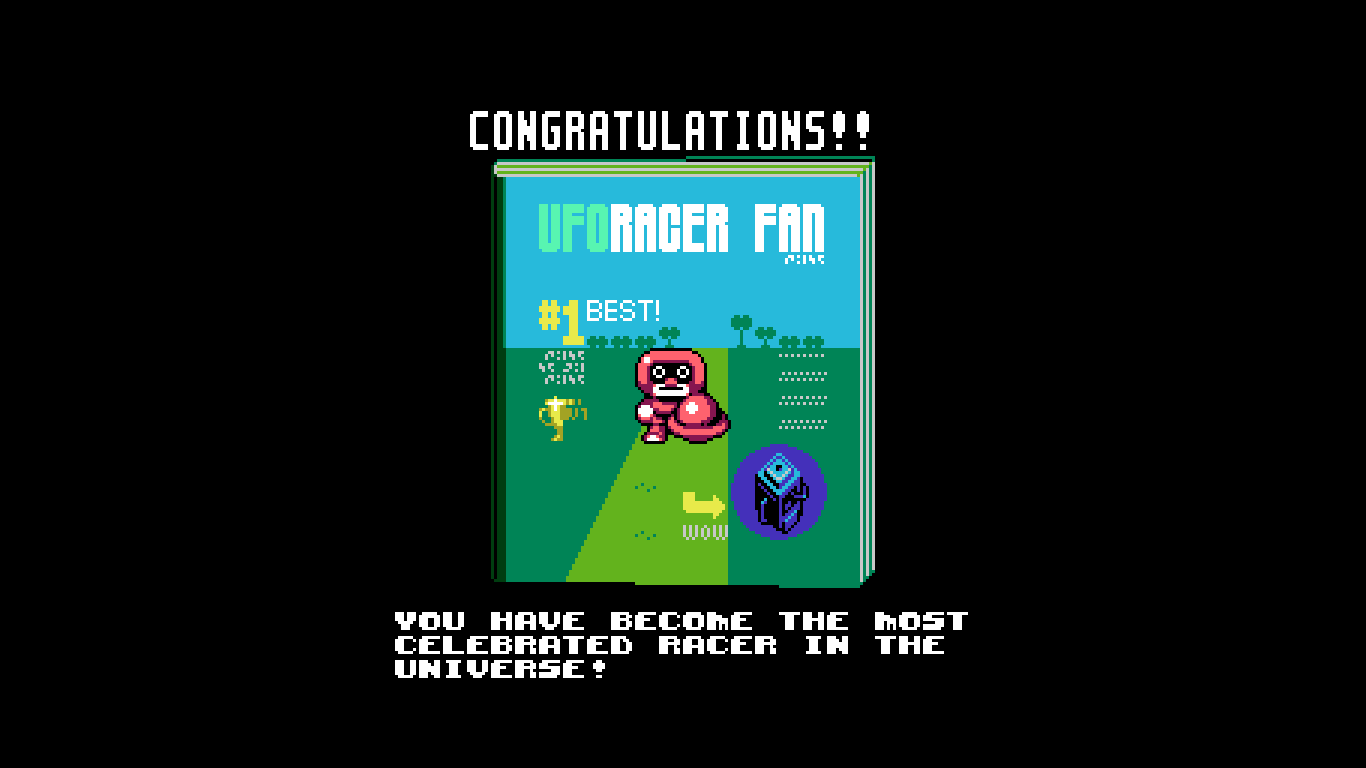
Speed through The Big Bell Race and become the Most Celebrated Racer in the Universe with a few simple tips.
Intro
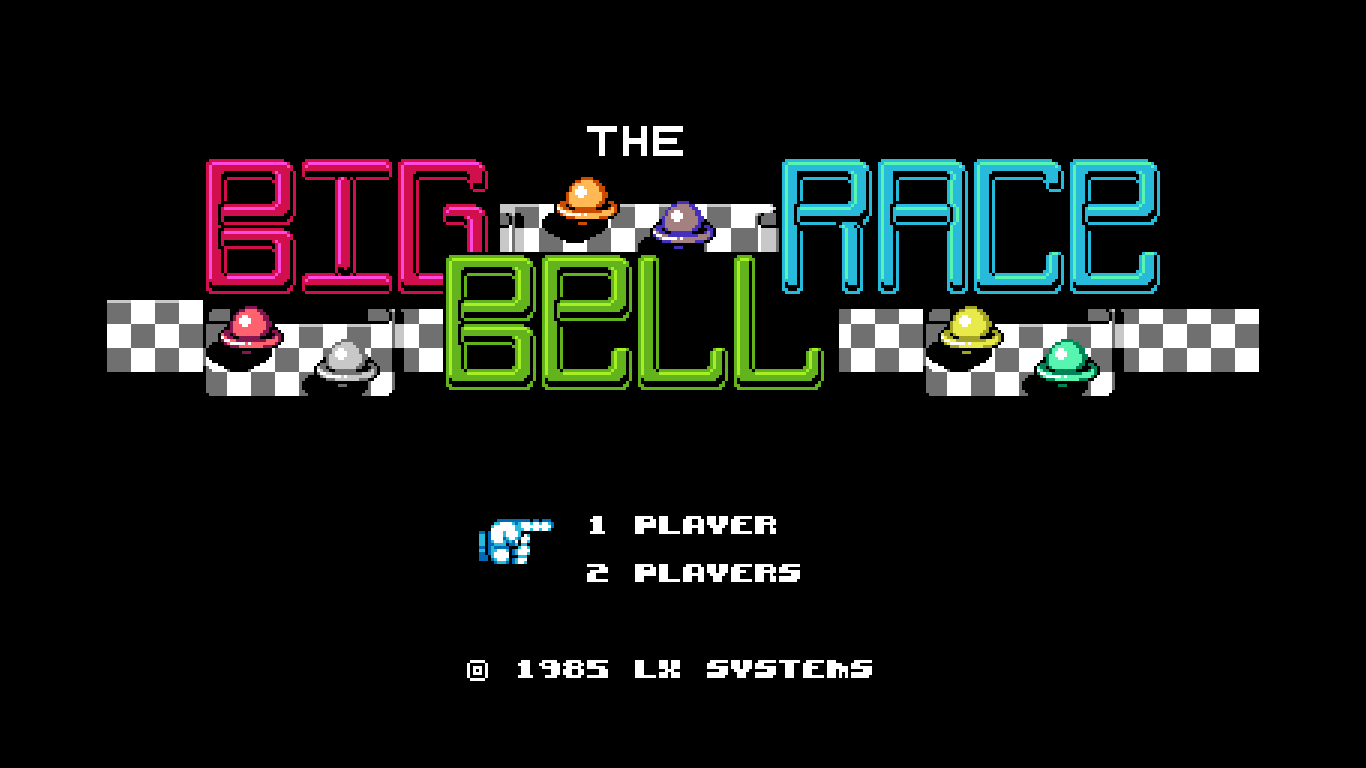
- Game Name: The Big Bell Race
- Gift Requirements: Take 1st place in at least one race.
- Gold Requirements: Win the tournament.
- Cherry Requirements: Take 1st place in every race.
Compared to some of the other games in UFO 50, The Big Bell Race is not particularly complicated. It's a "companion game" to Campanella, where characters from the universe of that game race in a tournament, hassling each other along the course of the track by directly attacking competitor vehicles or creating obstacles which can wreck said vehicles.
As a top-down racing game with the ability to create obstacles to ruin your opponents' day, the closest thing I can find to it is the 1984 game Stock Car, although even that game did not let you attack opponents directly. Otherwise, inspiration abounds from plenty of 70's and 80's titles including, but not limited to the early Indy series, Rally Speedway, and Grand Prix. Maybe F-Zero or Micro Machines if you want to backdate things a little.
Basic Mechanics
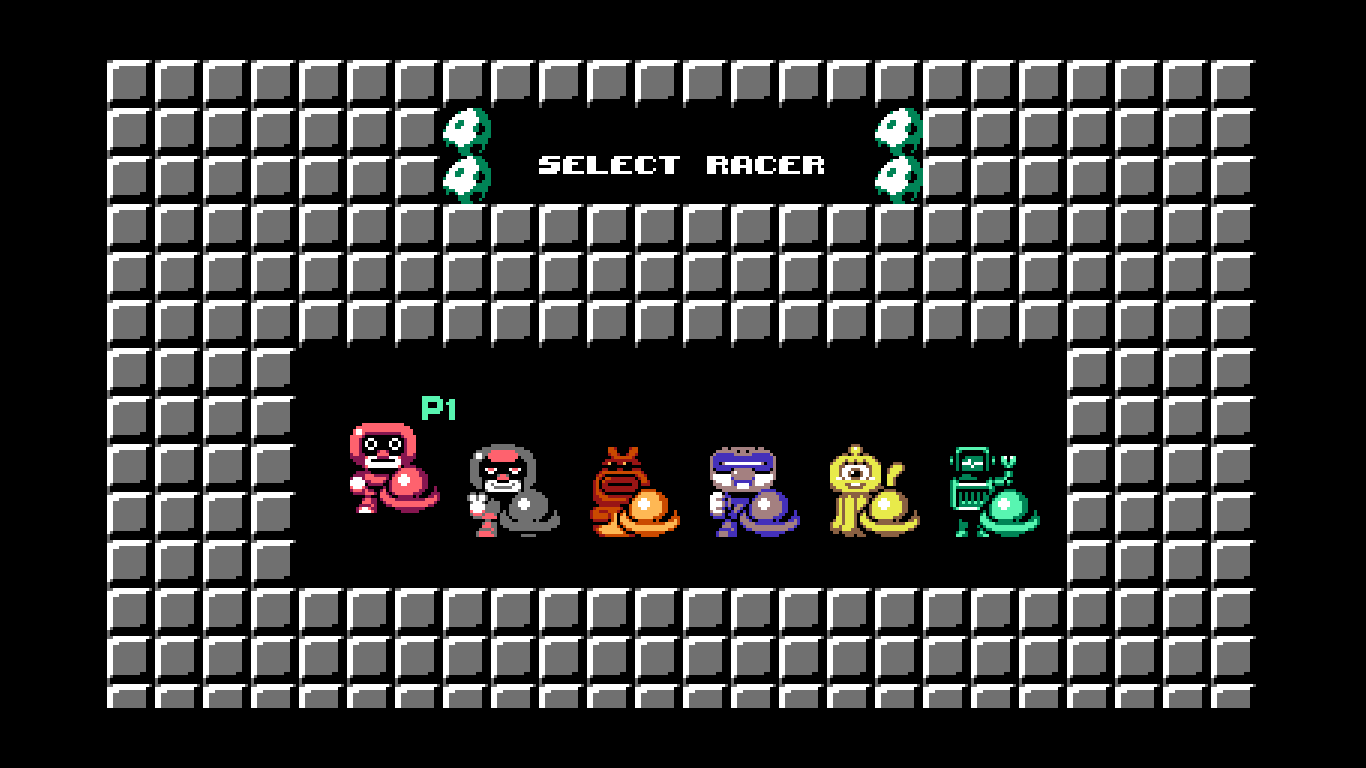
Upon going into the game, you will be presented with the character select screen. All vehicles are identical apart from their coloration, so just pick whoever you think has the most fun design.
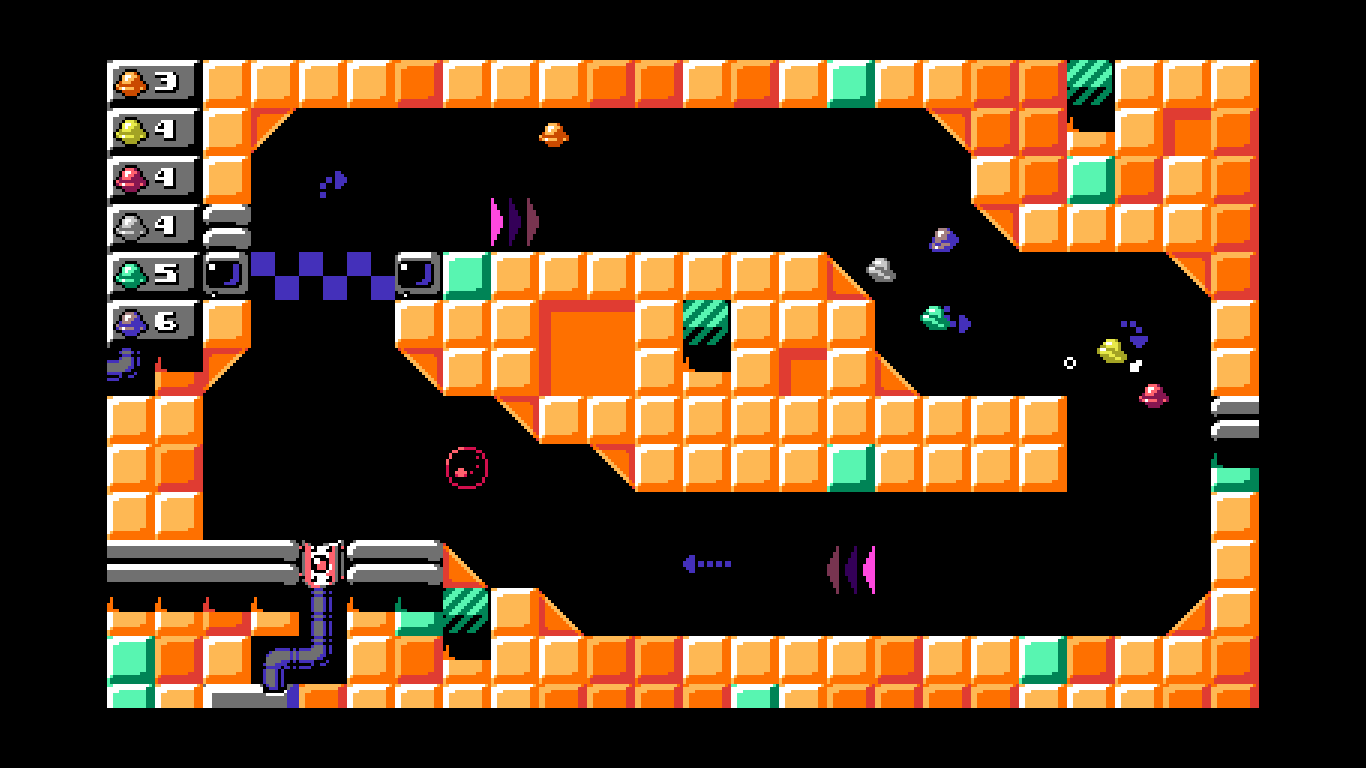
Controls are simple: direction keys to guide the flying saucer, press Z to generate thrust (which keeps the saucer afloat and can help accelerate the saucer if applied directionally) and press X to attack opponents with a side-swipe.
Your flying saucer has three pips of health, which are typically reduced one at a time by environmental hazards or colliding with the edges of the track. Note, this means that being attacked or collided into by another player do not, in and of themselves, deal damage. They just knock you back into the environment, which is what's doing all the real work. Visually, nothing changes between full health and being slightly damaged, but when the flying saucer is at one pip of health it will start to smoke. Lose all of your flying saucer's health and it will be destroyed, with a new one being created from a launcher that is located just below the start of the track: this is functionally identical to you being sent back to the start of the lap with a slight delay.
I think invulnerability frames exist, but if so they're not super generous, just enough to ensure that you don't chain your vehicle into getting destroyed by accident... which isn't to say that that can't happen on purpose, because it certainly can.
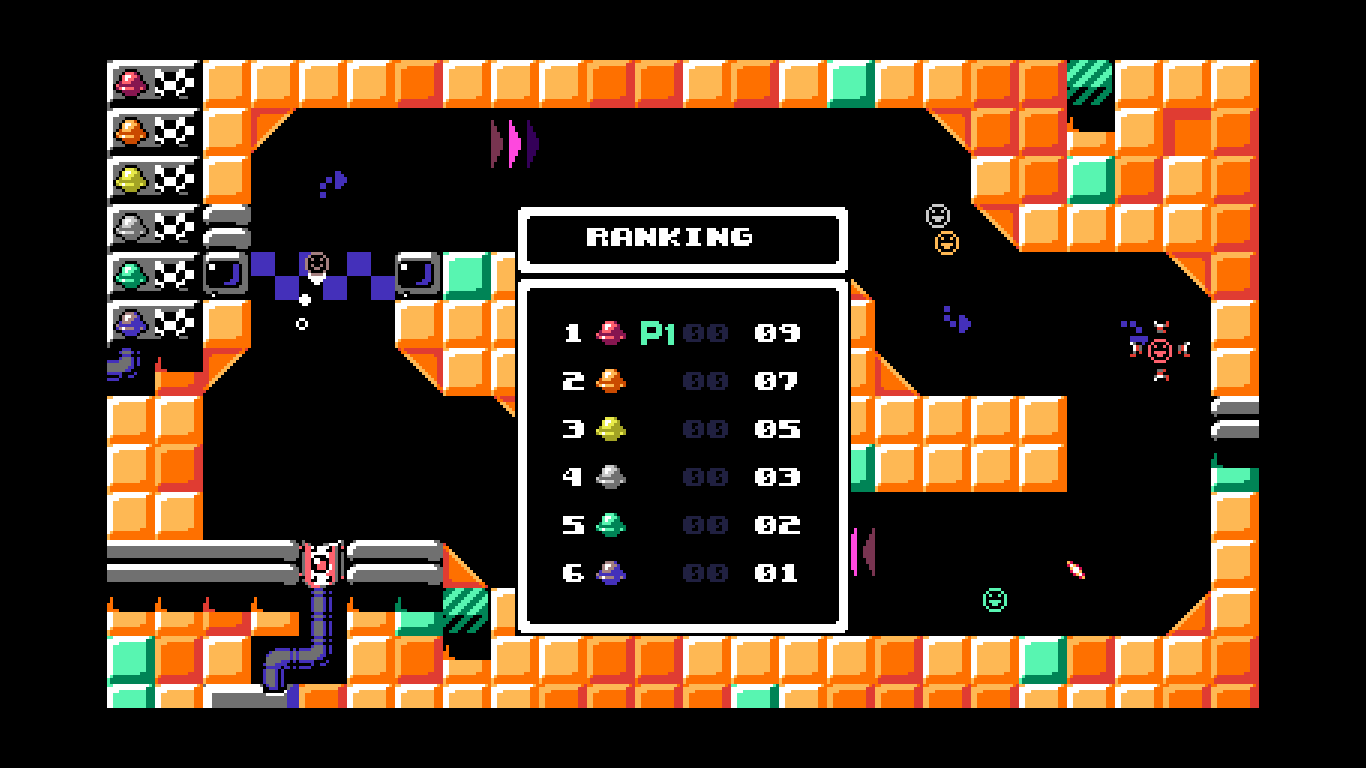
The game consists of a tournament consisting of 8 races held along different tracks, with 8 laps of the track in every race. Players are never permanently eliminated, and the winner of the tournament is determined by who has the most points at the end. Upon completion of an individual race, points are awarded based on placement. 1st Place gets 9 points, 2nd Place gets 7 points, 3rd Place gets 5 points, 4th Place gets 3 points, 5th place gets 2 points, and 6th place gets 1 point. Of course, none of this matters if you're going for the Cherry, which demands perfect placement in every race: there isn't really enough in the game to ask for anything else.
The game also, as far as I can tell, does not let you quit and return: once you're in, you have to complete the entire tournament in one sitting, although you can pause the game.
Power Ups
Occasionally, power up collectibles will spawn on the track. Typically their spawn-in is preceded by the appearance of a set of yellow exclamation marks. The flying saucer that collects the power up will either be affected by its obvious outcome or glow to indicate that they have received the boost. These are as follows:
 Gives the flying saucer that collects it a stronger than usual attack, increasing knockback greatly.
 Gives the flying saucer that collects it a pair of fireballs which will orbit the saucer and deal damage to any other saucer that collides with a fireball.
 Gives the flying saucer that collects it an automatic attack that shoots bullets in the four cardinal directions, damaging players hit by the bullets.
 Gives the flying saucer that collects it an automatic minelaying ability directly behind their saucer, with the mines dealing damage to anyone hit by them. Note that the collecting saucer has no special immunity to these mines: typically this doesn't matter because they'll expire by the time the saucer loops the track, but if you're enough of a speed demon you can be hoisted by your own petard.
 Gives the flying saucer that collects it a ball on a chain behind their saucer which, after a few seconds, explodes - knocking back other saucers if they're in the vicinity of the explosion and creating three slightly spread out fires in a triangle-shape pattern. It's easy enough to avoid these, but if you land in one of the fires it will damage your saucer and slow it down, making it possible to take multiple hits of damage if you land in the fire early enough.
Course Guides and General Advice
To make things easier for your time with The Big Bell Race, I hereby present the eight tracks, some advice I have for each track, and more general advice.
Track 1

Fairly simple circular track with a set of two boost pads, which will speed up saucers that travel over them. This is probably the easiest track to win on, and it's even possible to lap the other saucers multiple times.
Where to Get Ahead: Really, anywhere on the track. But might as well start out strong by getting ahead of the other saucers on the first boost pad and never letting go.
Track 2
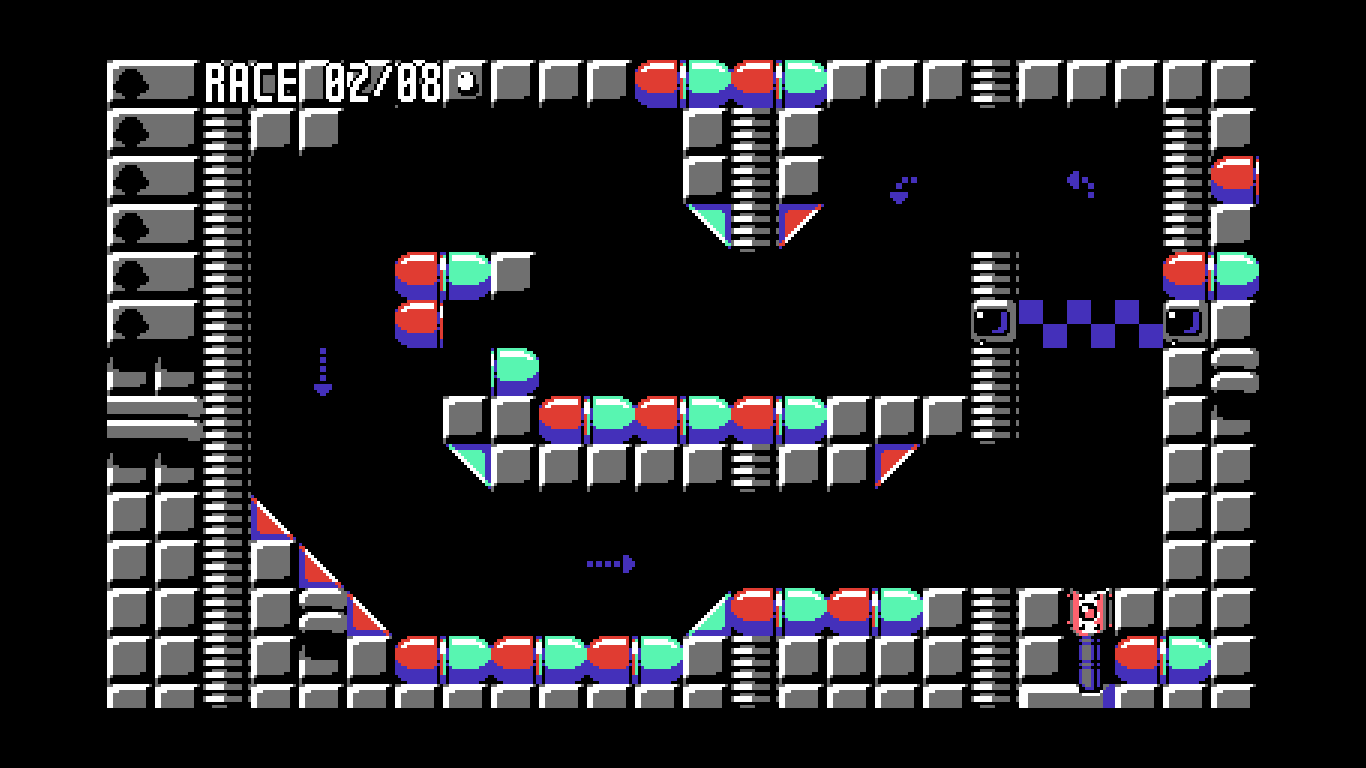
The dip plays a much bigger role than you realize! That and the first big drop define the course, making this a test of knowing when and where to build up your momentum. The narrow passageway has its uses, especially if you're falling behind, but isn't the end-all be-all of the track and can often be a trap if you're just blindly gunning for it. My favorite track of the set.
Where to Get Ahead: If you can keep parity with the other saucers through the dip, the first big drop is where you'll run ahead of the other saucers. The AI doesn't seem to be able to run it as tightly as a human player can.
Track 3
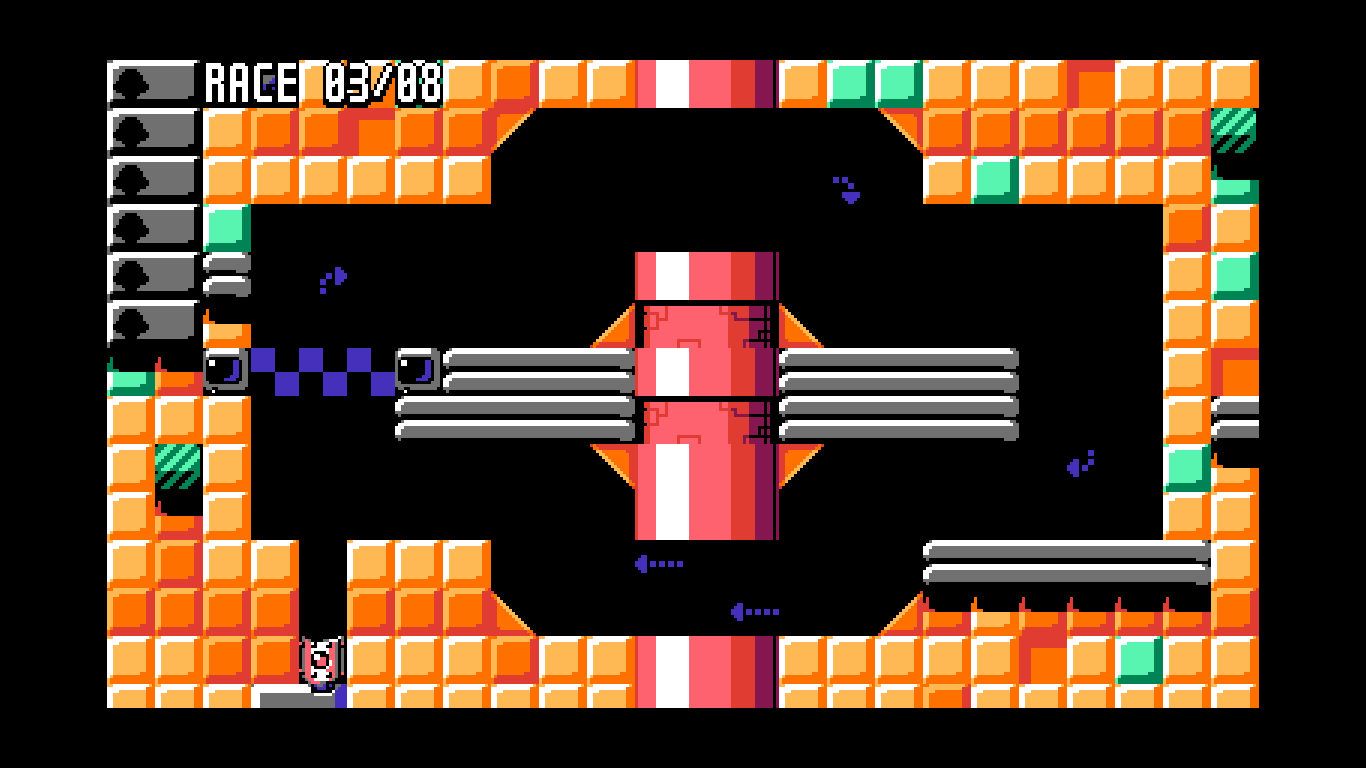
A very narrow course, if you can get ahead of your opponents it's easy to stay ahead, but it also means there's very little room to catch up if you fall behind. Probably the track most prone to things turning into an accidental bumper cars setup.
Where to Get Ahead: More than any other course, this is a race won by inches. Maintain extreme precision in the first half of the first lap and combined with getting knocked forward by your opponents, you can maintain the lead.
Track 4
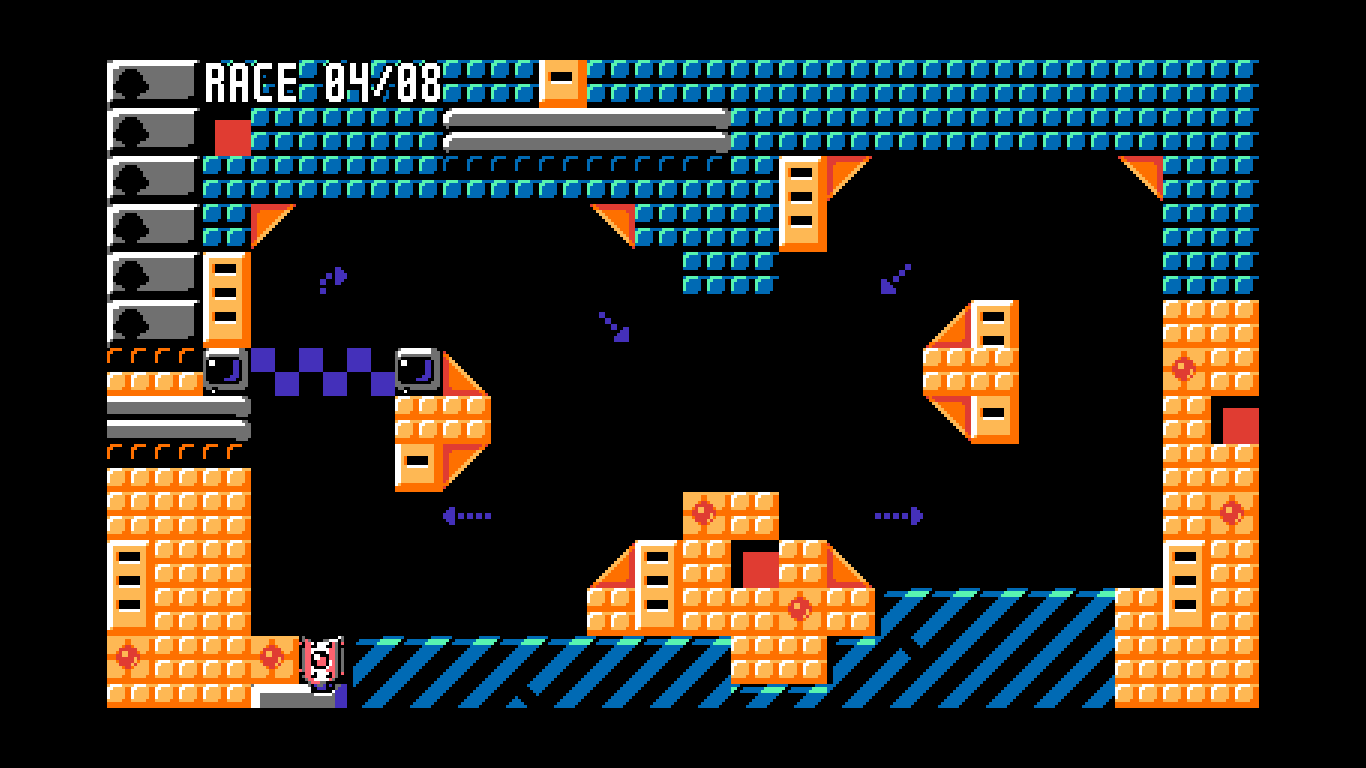
The first of the figure 8s, and probably the toughest. I feel like one saucer on this track always became my special nemesis who maintained perfect parity all the time. Rising and falling become especially important for these tracks, as is situational awareness, because obstacles going off in the middle are more likely to affect your saucer than in other tracks.
Where to Get Ahead: The upswing of back half of the course is the easiest place to outcompete opponent saucers, although you can do similar for the upswing near the finish line as well.
Track 5
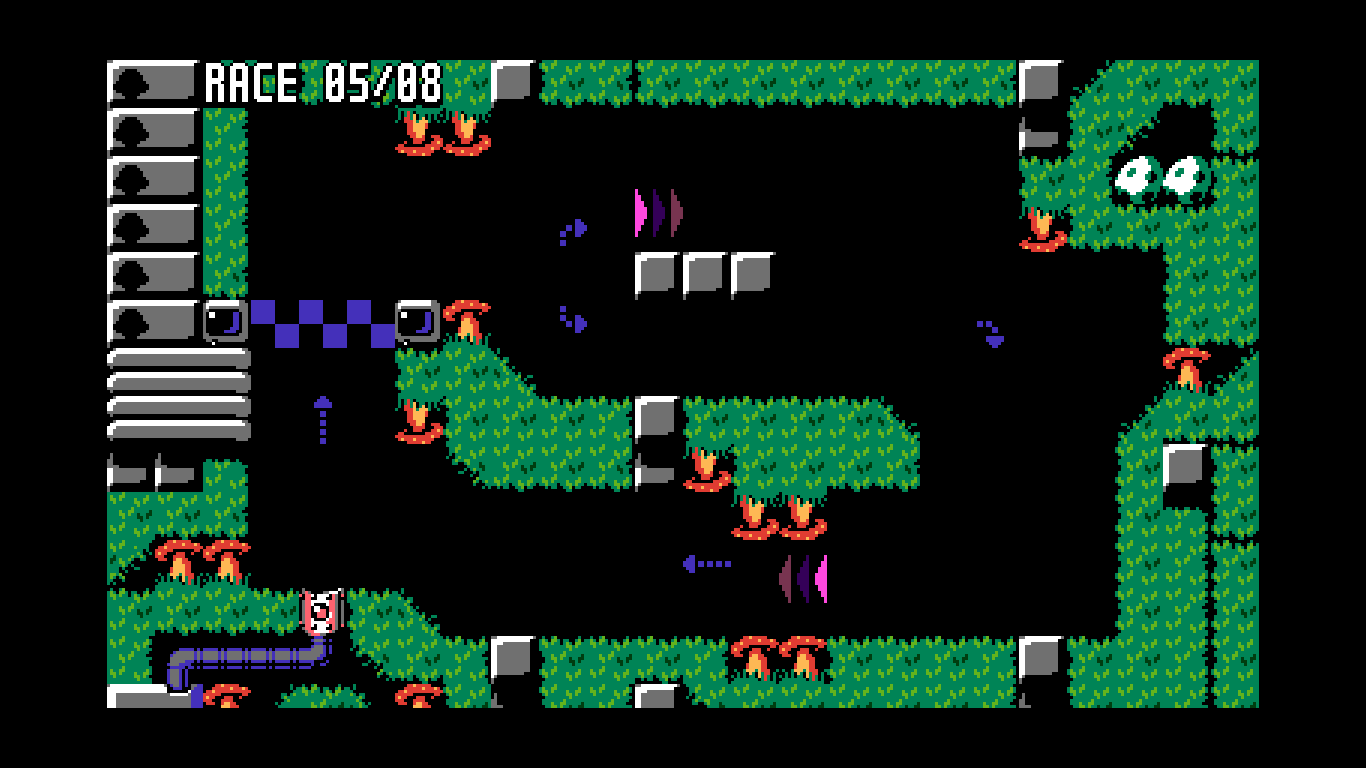
A bifurcated track, with the top half being longer but having a boost plate compared to the less frills bottom half, eventually rejoining at another boost plate down a straightaway. My experience tells me that unless you can perfectly hit the boost plate every time, you're generally better with the bottom route, although this is a course that's very reactive in nature.
Where to Get Ahead: If you can't get the advantage right out of the gate by taking the less occupied of the two routes, then you can probably get ahead via the straightaway on later laps.
Track 6
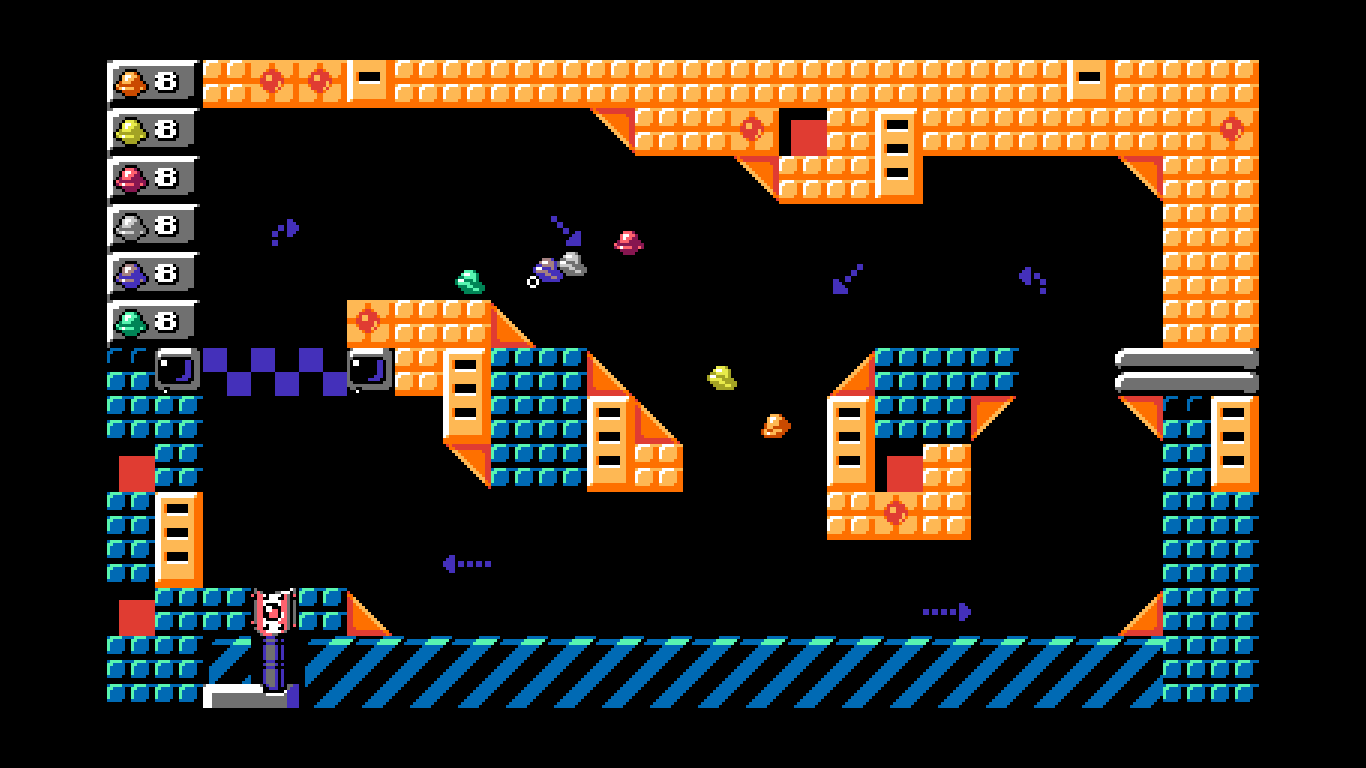
The AI doesn't seem to know how to run this figure 8 that well, but that just means that this is the track where they most directly (although it can happen for individual saucers on every track) decide to stop trying to run the race at maximum efficiency and focus on wrecking other vehicles. Of course "not run the race at maximum efficiency" is not the same as "full stop", so you can't let your guard down too much on that front either.
Where to Get Ahead: You can get ahead as early as the first dip if you're lucky, but this race is, for the reasons stated above, not as hard to get ahead on at any point, as long as you stay focused.
Track 7
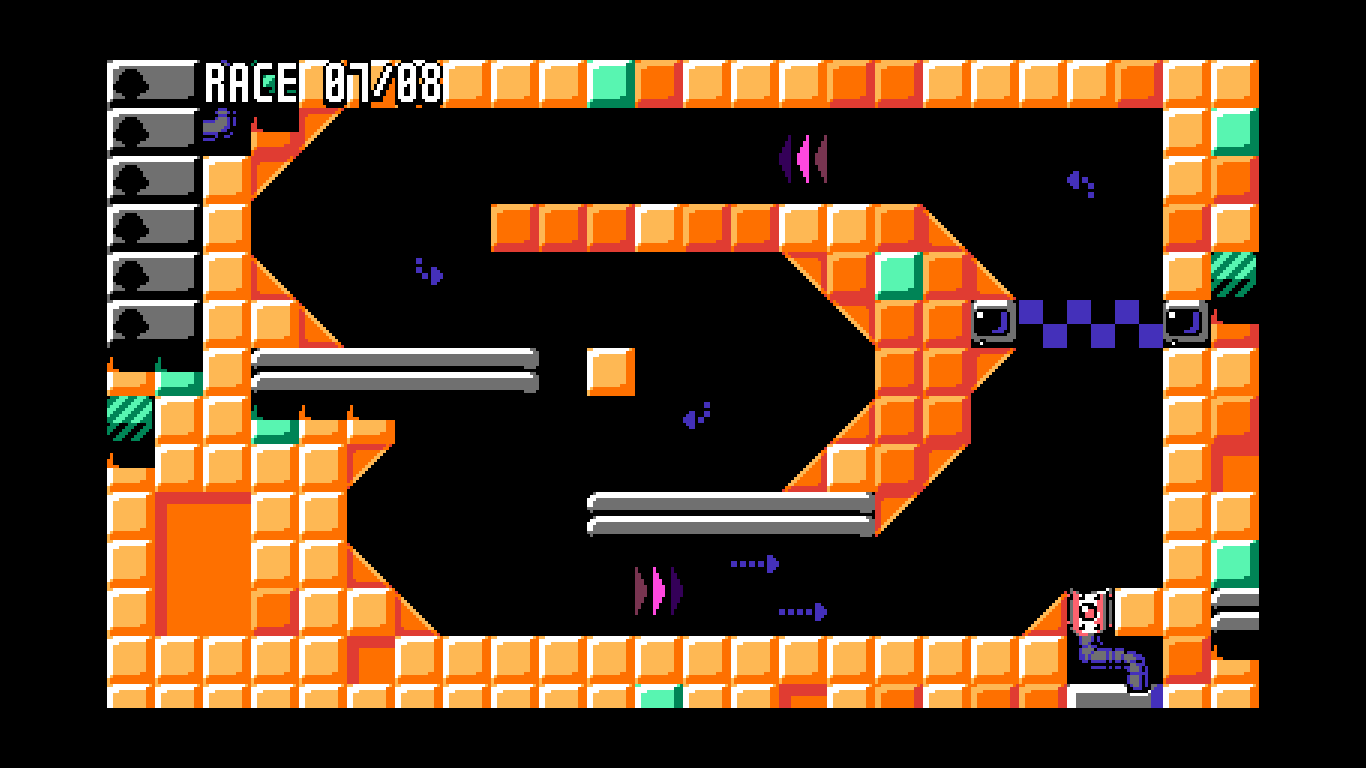
A bendy track, but unlike Track 2, here the narrow passageway is easier to navigate and should form the cornerstone of a player strategy if they can manage it. Probably the easiest course that isn't the beginner one.
Where to Get Ahead: It's really hard to overstate just how much you can chump the AI on this one by taking the side route. That pretty much overrides everything else about the course unless you fall victim to hubris elsewhere as a result.
Track 8
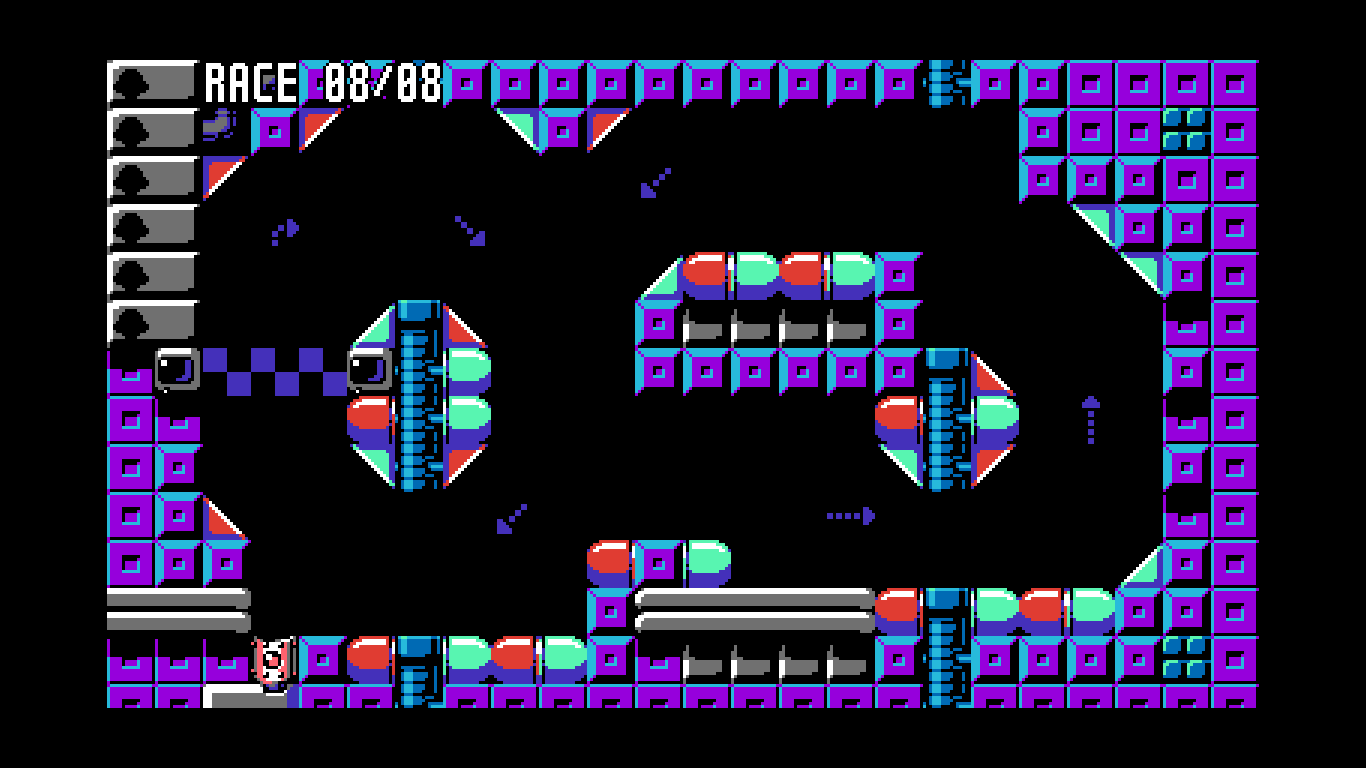
The last of the figure 8s and the last track of the game. The bottom half of the eight is elongated, even compared to the others, which makes it a bit more of a hybrid straightaway course and less of a pure test of turning. Probably the most evenly balanced race in the game.
Where to Get Ahead: It's a figure 8, so taking advantage of the rise and fall sections is still the go-to play, but this one's as much a test of your general skills as anything else.
General Advice
- There's no advantage to winning any harder than you have to, so as long as you can get ahead of the other saucers, you're golden.
- Getting knocked around by the other saucers is a good way to gain an early lead if you can maintain a rough idea of where you'll land.
- By contrast, once you have the lead, staying anywhere near the other saucers is a bad idea. On some courses this is unavoidable, but tying into point 1, you may want to race just behind the saucers competing their previous lap so you don't get bodied.
- While it is nice to take advantage of power ups where you can and KO opponents, generally speaking it's more important to focus on driving as well as possible, especially since your opponents cannot be permanently knocked out of the race/tournament. You do, however, want to grab power ups as much as possible, even if you don't intend on using them, just to deny them to your opponents.
Outro
And that's pretty much it! Once you know what you're doing, mastering The Big Bell Race is really more just a question of execution than anything else. Winning the tournament gets you a nice little victory screen:
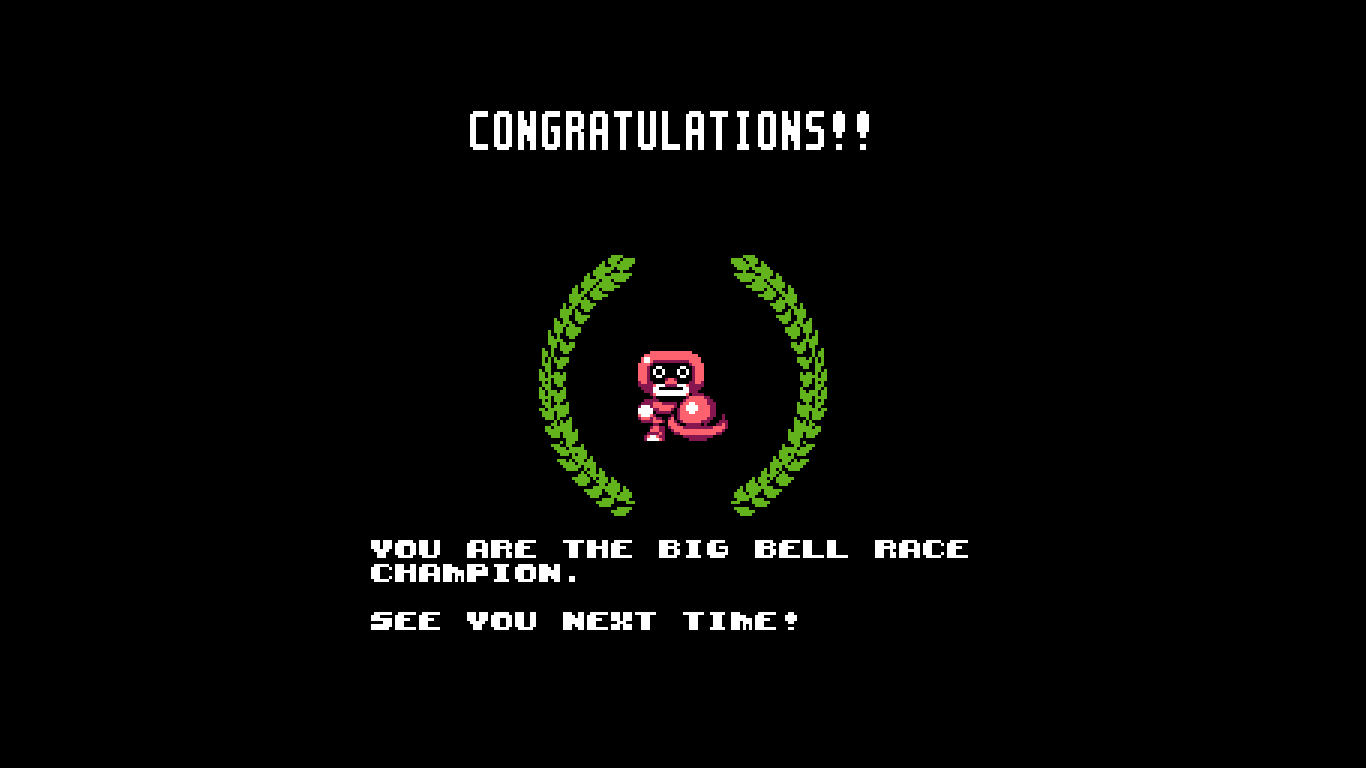
But you'll know that you've made it to the top when you see this one instead:
Best of luck, future champs!
Source
This guide is based on information from the original source: Steam Community Guide.