Bushido Ball Guide
Gameplay Basics
Every character has 2 special abilities. These abilities are charged by a meter by hitting the ball. Every 2 hits grants half a bar of meter. Every time you are hit by an opponents projectile special you will lose half a bar of meter.
The ball itself can move be hit in multiple ways to change how it behaves
Forward X, Up X, Down X: A simple hit in a direction
Back X: Lob the ball. This can be useful for getting over opponents close to the line, especially Yamada, or slowing the opponents response to build up meter reliably
Dash + Up X or Down X: Spin ball, causes the ball to swiftly charge forward and if it hits walls can cause the ball to bounce violently. Useful for a quick goal, but if hit generally returns very quickly back to you.
The Bushido
Kotaro
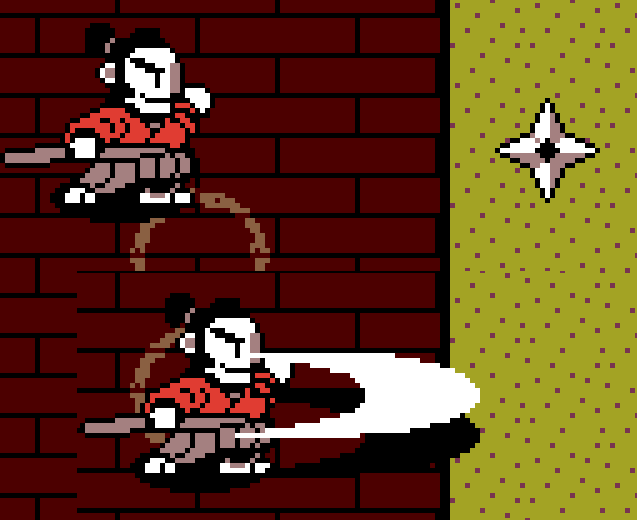
- Attack: B - Reliable, medium range strike
- Charged: B - Simple fast projectile
- Special Projectile: B - Can disrupt the enemy by hitting the ball back quickly or knocking them down. Can reflected with a standard strike.
- Overall: B - Kotaro is the Mario of Smash, the Ryu of street fighter. He's average in every aspect.
Ayumi
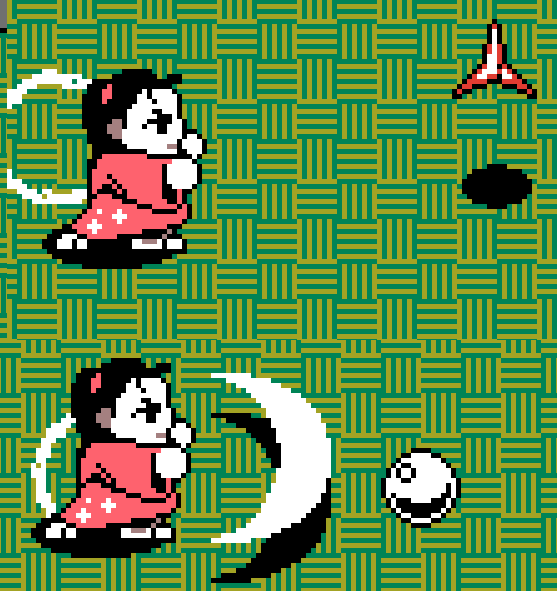
- Attack: C - shortest range in the game
- Charged: A - Causes the ball to surge to the top or bottom of the map and hug the edge. Fast and dangerous.
- Special Projectile: B - Causes the ball to bounce toward whomever owns the caltrop. Opponent can take ownership of it by hitting it with an attack
- Overall: A - Ayumi is swift with a scary charged attack in the hands of the opponent, and the speed can cause great control over the map but winning with her will require skill.
Tomoe
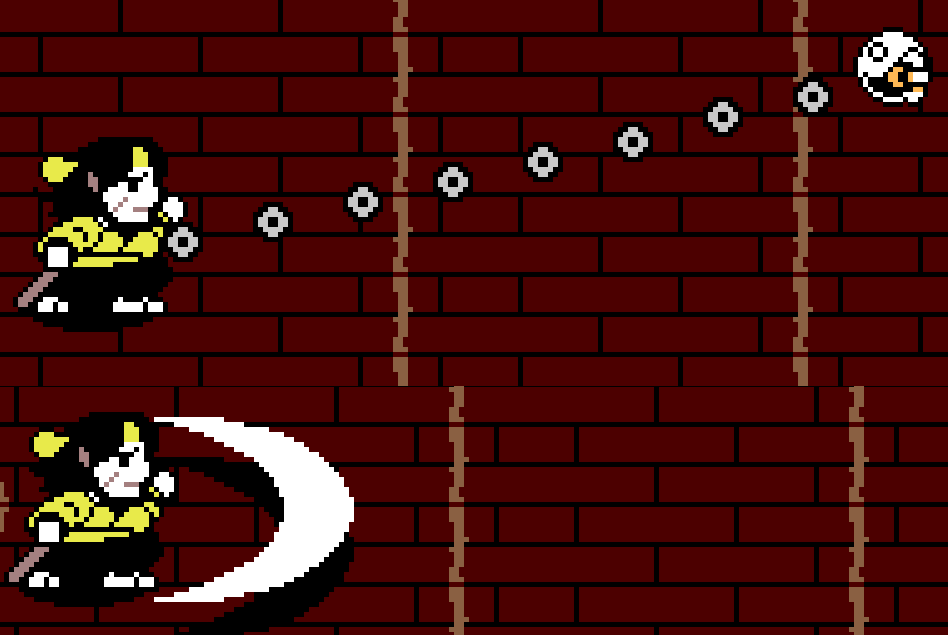
- Attack: A - Most reliable attack in the game, with the largest vertical strike and long distance
- Charged: B - This attack is confusing, causing multiple balls to appear. This is devastating against a person, but against a CPU it's just a standard projectile
- Special Projectile: D - A grapple that will pull the ball towards you. It's lack of speed, reliability in actually grabbing the ball, and inability to grab a ball behind to removes most useful utilities of this projectile compared to others
- Overall: C - Tomoe can control his side of the battlefield easily with his attack, but lacks reliable ways of scoring a goal against tough opponents
Raizo
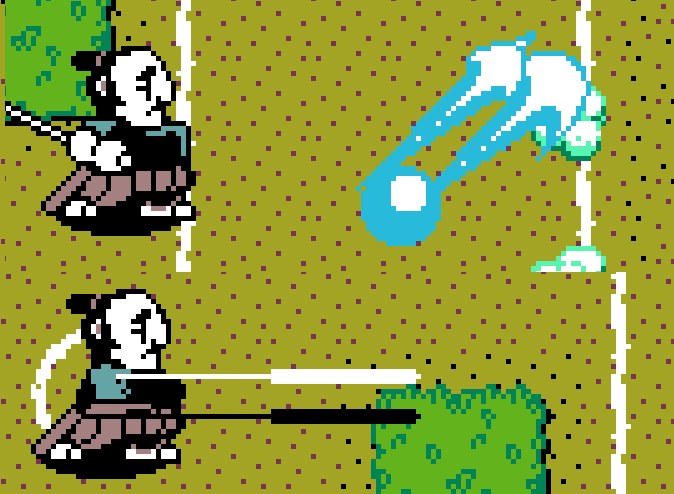
- Attack: C - Thin, long ranged strike
- Charged: B - Fast projectile that spins. Won't confuse opponent much more than a simple charged attack
- Special Projectile: S - A medium ranged energy wave that piercing targets. Can be used to strike a ball while the opponent is responding to knock your opponent down and reflect the ball back past them in the same move.
- Overall: A: Raizo suffers from a mediocre attack, but his special projectile can break the opponents defenses so oppressively that it makes him one of the best Bushido in the game
Chiyome
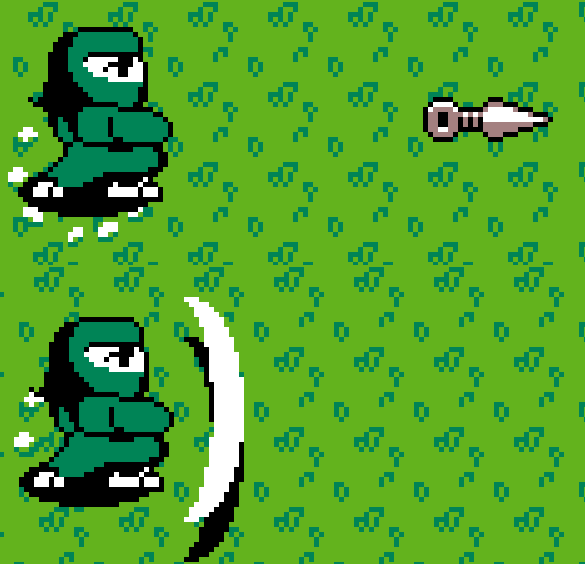
- Unique: When dash, instead instantly teleports a set distance away
- Attack: B - Short range but great vertical height
- Charged: C - Turns the ball invisible, useful against humans but not against CPU
- Special Projectile: A - Like Kotaro's shuriken but faster
- Overall: B - Good character that will have a difficulty curve for utilizing the teleport correctly
Yamada
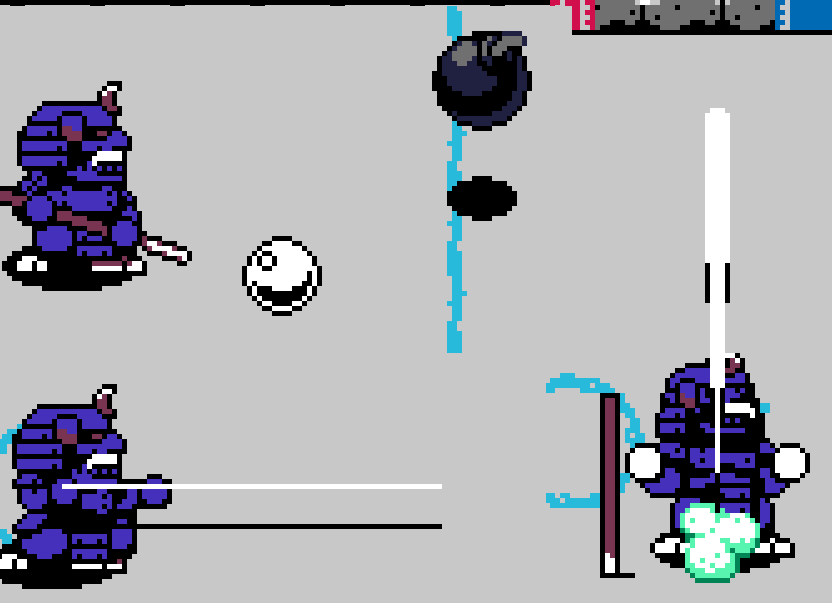
- Unique: Cannot dash. When dashing, instead attacks vertically
- Attack: A - Can cover the entire map by standing in the center, but suffers from thin strikes. In the hands of an expert he can be an iron wall
- Charged: B - Causes the ball to L shape, and curve back to the center of the strike. Good if near an opponent but loses potency far away.
- Special Projectile: B - Throws a bomb which explodes after struck or a set amount of time. The bomb will cause the ball to be thrown insanely fast with a curve. Difficult to predict and respond to.
- Overall: B - Yamada is the hardest character to a master and will require insane reaction time with his thin hitboxes, but has the great potential. Yamada suffers from lob shots, as he can't dash backwards to respond so don't play too far forward.
How to Cheat like an honorable Bushido
So you're trying to win Bushido, maybe trying to earn a cherry but honor is holding you back? Well don't worry the judges planned for this.
There are three rules you can break in Busho. Each one earns you a penalty. On your third penalty the round will instantly end, your opponent will get 1 point, and your penalties will be reset.
The penalties are:
- Stalling - having the ball on your side for too long without striking it
- Interception - attacking the ball while the judge serves it to the other side before they can hit it
- Attacking - Hitting the opponent with your blade (not special projectiles)
The judges are smart, bribable people so make sure to maximize your matches to always cheat twice. When the judge is serving the ball to your opponent either hit the ball before your opponent can or dash into their face and hit them and the ball at the same time the moment they respond to the serve. This is an easy way to score 2 point in the match. It's only dishonorable if you cheat 3 times.
Speaking of cheating, let's talk about Raizo
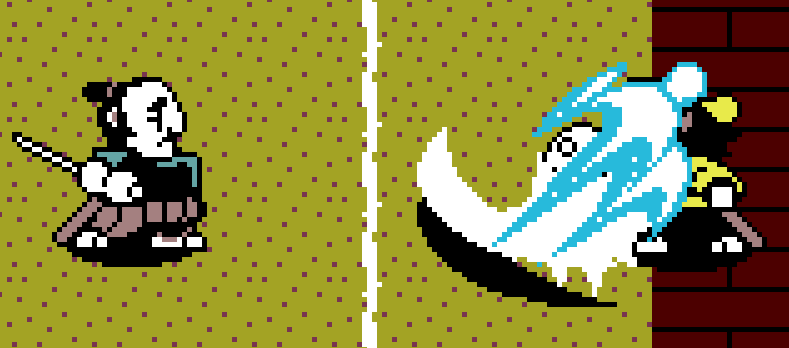
Raizo has the best special projectile in the game. A projectile so good that you can almost guarantee a point with every charge. To win with Raizo, play a slow round, lobbing the ball to your opponent to build up special charges then eventually score a goal. When the judge serve the ball to your opponent, walk up to their face and wait to launch your special projectile so it strike them the moment they would hit the ball. If your opponent hits the ball first you won't get a penalty, and your projectile will hit both your opponent and the ball causing it to bounce right past them and even granting 1/4 of your special bar for hitting the ball.
Do this over and over to score many easy goals.
Source
This guide is based on information from the original source: Steam Community Guide.